Setting up NextJS with GitHub Actions and feature flags using Flagsmith
Stop redeploying your NextJS app to change config or environment variables - manage your project's configuration with Flagsmith.
When building a project we want to work on the most fun parts, but creates risk and more work for us later on. It is important to set up the foundation of the project from the beginning, especially if other people will be working on it. Integrations and automation are a big part of this as they remove the “human error” and give us faster feedback.
Real-world project on GitHub using these technologies
https://github.com/EddieHubCommunity/HealthCheck
What we will cover
NextJS setup
GitHub Actions
Manage config with Flagsmith
Why these tools?
Why NextJS? I really like the NextJS framework, it has many conventions which I believe make the onboarding process more standardised and allow us to build and iterate rapidly.
Why GitHub Actions? It is important to automate as much as possible, especially the repetitive tasks, for faster feedback and to remove “human error”. This is usually achievable with a few lines of yaml.
Why Flagsmith? We often want to manage configuring our app via config or environment variables but this requires a redeploy every time. By using Flagsmith, we can make changes to our app using their control panel.
Getting started
We will start at the beginning with a new brand new project.
Create a new NextJS project
Open your terminal and run the command:
npx create-next-app@latestThe command will ask you questions about your project setup, such as what you want to name it.
The final output will look like:
➜ npx create-next-app@latest

✔ What is your project named? … healthcheck-flagsmith
✔ Would you like to use TypeScript? … No / Yes
✔ Would you like to use ESLint? … No / Yes
✔ Would you like to use Tailwind CSS? … No / Yes
✔ Would you like to use `src/` directory? … No / Yes
✔ Would you like to use App Router? (recommended) … No / Yes
✔ Would you like to customize the default import alias (@/*)? … No / Yes
Creating a new Next.js app in /Users/ej/Downloads/repos/videos/healthcheck-flagsmith.

Using npm.

Initializing project with template: app-tw


Installing dependencies:
- react
- react-dom
- next

Installing devDependencies:
- postcss
- tailwindcss
- eslint
- eslint-config-next

added 356 packages, and audited 357 packages in 11s

137 packages are looking for funding
  run `npm fund` for details

found 0 vulnerabilities
Initialized a git repository.

Success! Created healthcheck-flagsmith at /Users/ej/Downloads/repos/videos/healthcheck-flagsmithNOTE: if you use GPG keys to sign your commits, you will be asked for your GPG password.
Navigate into your new project directory with:
cd healthcheck-flagsmithYou can check the initial commits with:
git logThis will show you the git history (use “q” to exit):
commit d08b5b28e19a8c5ef88cb356fe5860fd69441785 (HEAD -> main)
Author: Eddie Jaoude <HIDDEN-EMAIL>
Date:   Mon Jul 1 10:34:15 2024 +0100

Initial commit from Create Next AppNOTE: No need to run “npm install” or “npm ci” as the NextJS create command will have already installed the npm dependencies the project needs. However if you clone the repo in the future, you will need to run the npm command to install the dependencies.
Check the project works correctly
I always believe it is important to check the project is working at each stage. This will ensure if anything does go wrong we know exactly what has been changed since the last time it was working.
At this stage in the process we can check if the vanilla NextJS app runs ok on our system by:
npm run devThis will output the following:
➜  healthcheck-flagsmith git:(main) npm run dev

> healthcheck-flagsmith@0.1.0 dev
> next dev

  ▲ Next.js 14.2.4
  - Local:        http://localhost:3000

 ✓ Starting...
 ✓ Ready in 2.4s
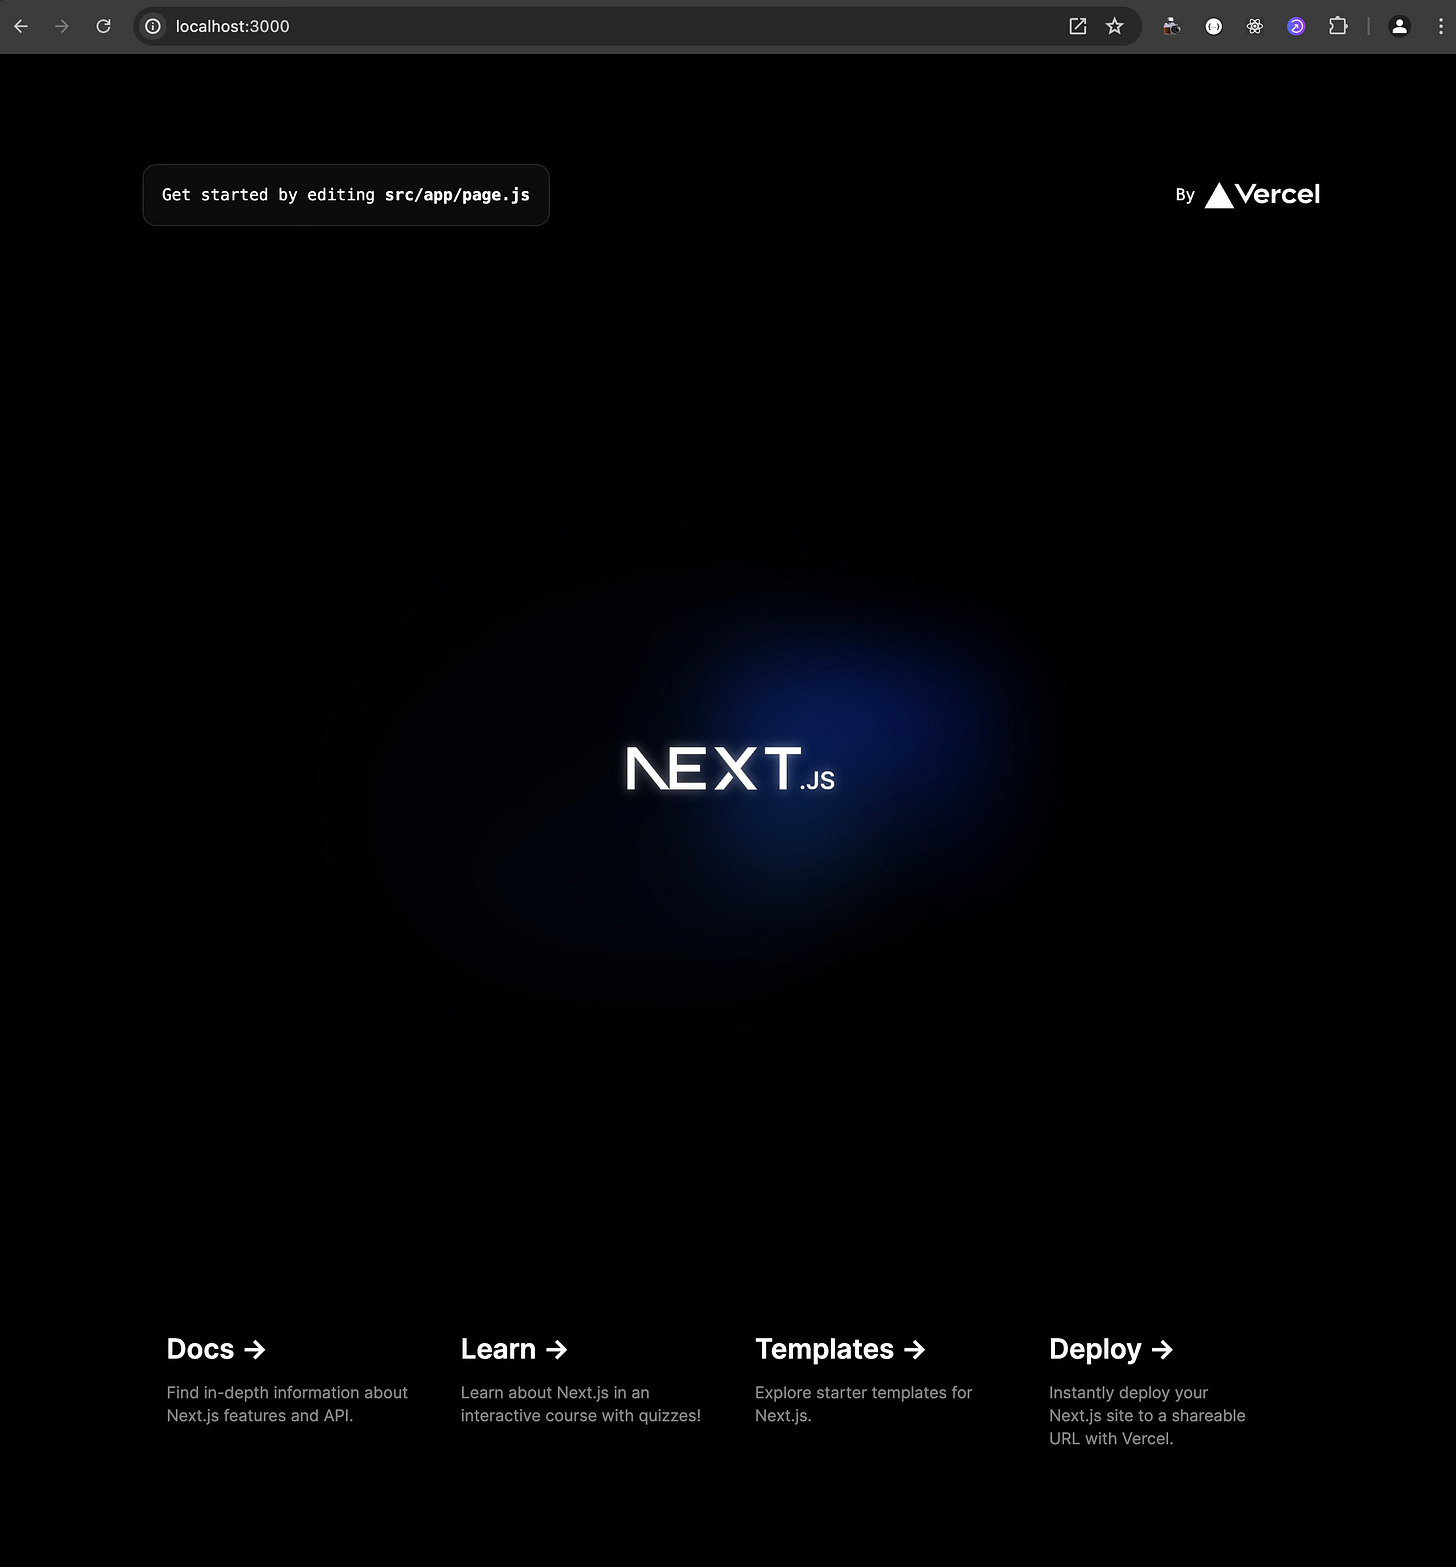
Then if you visit “localhost:3000” you should see the vanilla NextJS page, which should look something like this:
Open your favourite IDE
I use VScode, so in my terminal I can start VScode with my project loaded by using the following command:
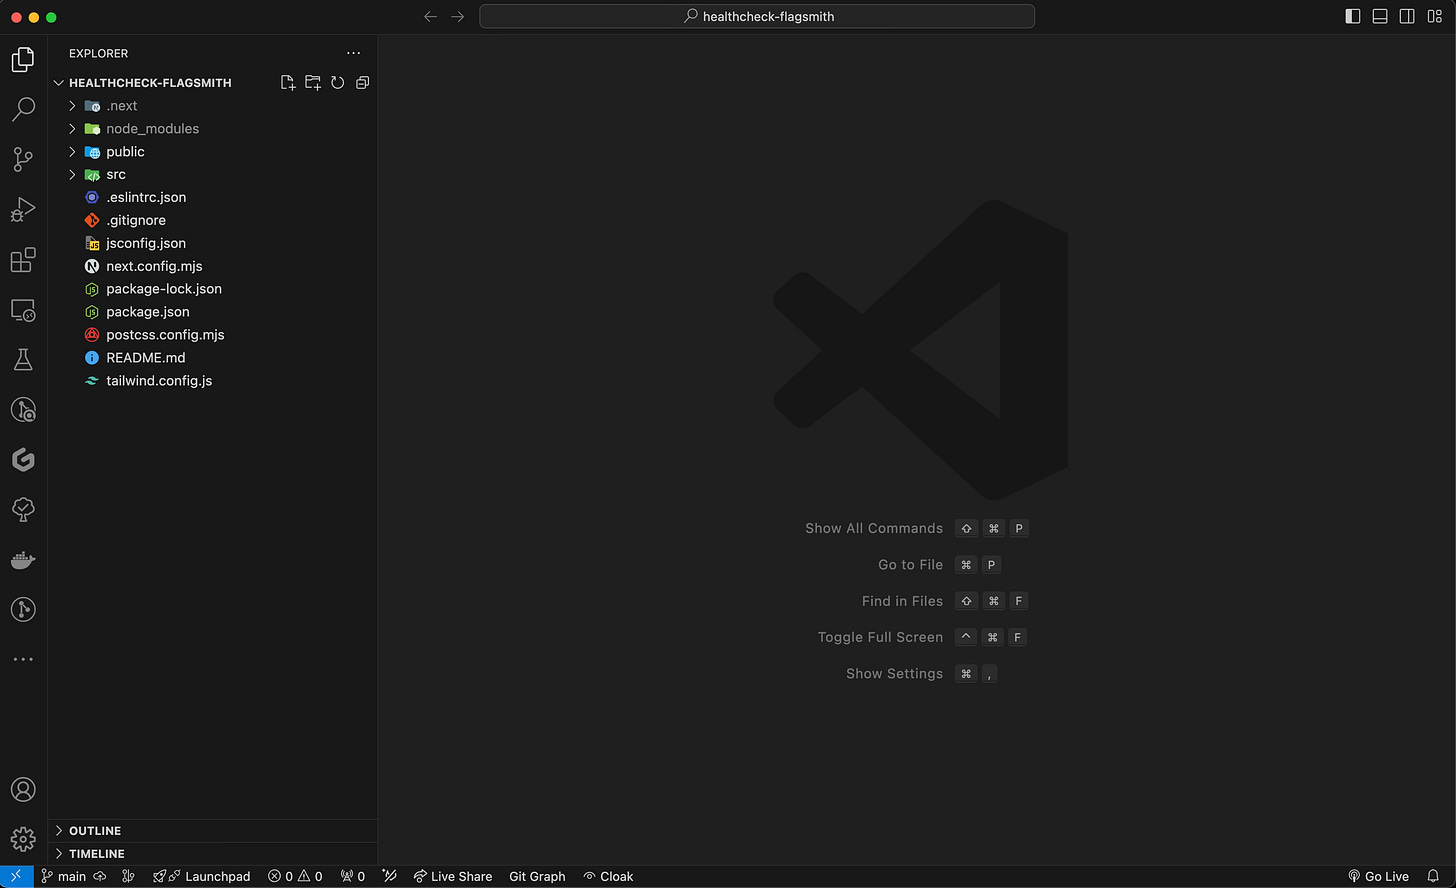
code .This is what my VScode looks like, and yours should be similar:
First step of a new NextJS project
The first thing I always do after checking the NextJS project works correctly, is delete all the example code from the project.
The files you will need to change and remove the temporary code from are:
src/app/global.css
src/app/page.js
Let me help (optional)
If you wish for me to make the changes for you (yes I said actually that), you can use my git patch below to modify your local project.
Download this code block to a file called “eddie1.patch” inside the root of your project (you do not need to commit this file).
diff --git a/src/app/globals.css b/src/app/globals.css
index 875c01e..b5c61c9 100644
--- a/src/app/globals.css
+++ b/src/app/globals.css
@@ -1,33 +1,3 @@
@tailwind base;
@tailwind components;
@tailwind utilities;
-
-:root {
- --foreground-rgb: 0, 0, 0;
- --background-start-rgb: 214, 219, 220;
- --background-end-rgb: 255, 255, 255;
-}
-
-@media (prefers-color-scheme: dark) {
- :root {
- --foreground-rgb: 255, 255, 255;
- --background-start-rgb: 0, 0, 0;
- --background-end-rgb: 0, 0, 0;
- }
-}
-
-body {
- color: rgb(var(--foreground-rgb));
- background: linear-gradient(
- to bottom,
- transparent,
- rgb(var(--background-end-rgb))
- )
- rgb(var(--background-start-rgb));
-}
-
-@layer utilities {
- .text-balance {
- text-wrap: balance;
- }
-}
diff --git a/src/app/page.js b/src/app/page.js
index c9b26e0..0f56194 100644
--- a/src/app/page.js
+++ b/src/app/page.js
@@ -1,113 +1,7 @@
-import Image from "next/image";
-
export default function Home() {
return (
<main className="flex min-h-screen flex-col items-center justify-between p-24">
- <div className="z-10 max-w-5xl w-full items-center justify-between font-mono text-sm lg:flex">
- <p className="fixed left-0 top-0 flex w-full justify-center border-b border-gray-300 bg-gradient-to-b from-zinc-200 pb-6 pt-8 backdrop-blur-2xl dark:border-neutral-800 dark:bg-zinc-800/30 dark:from-inherit lg:static lg:w-auto lg:rounded-xl lg:border lg:bg-gray-200 lg:p-4 lg:dark:bg-zinc-800/30">
- Get started by editing
- <code className="font-mono font-bold">src/app/page.js</code>
- </p>
- <div className="fixed bottom-0 left-0 flex h-48 w-full items-end justify-center bg-gradient-to-t from-white via-white dark:from-black dark:via-black lg:static lg:h-auto lg:w-auto lg:bg-none">
- <a
- className="pointer-events-none flex place-items-center gap-2 p-8 lg:pointer-events-auto lg:p-0"
- href="https://vercel.com?utm_source=create-next-app&utm_medium=appdir-template&utm_campaign=create-next-app"
- target="_blank"
- rel="noopener noreferrer"
- >
- By{" "}
- <Image
- src="/vercel.svg"
- alt="Vercel Logo"
- className="dark:invert"
- width={100}
- height={24}
- priority
- />
- </a>
- </div>
- </div>
-
- <div className="relative flex place-items-center before:absolute before:h-[300px] before:w-full sm:before:w-[480px] before:-translate-x-1/2 before:rounded-full before:bg-gradient-radial before:from-white before:to-transparent before:blur-2xl before:content-[''] after:absolute after:-z-20 after:h-[180px] after:w-full sm:after:w-[240px] after:translate-x-1/3 after:bg-gradient-conic after:from-sky-200 after:via-blue-200 after:blur-2xl after:content-[''] before:dark:bg-gradient-to-br before:dark:from-transparent before:dark:to-blue-700 before:dark:opacity-10 after:dark:from-sky-900 after:dark:via-[#0141ff] after:dark:opacity-40 before:lg:h-[360px] z-[-1]">
- <Image
- className="relative dark:drop-shadow-[0_0_0.3rem_#ffffff70] dark:invert"
- src="/next.svg"
- alt="Next.js Logo"
- width={180}
- height={37}
- priority
- />
- </div>
-
- <div className="mb-32 grid text-center lg:max-w-5xl lg:w-full lg:mb-0 lg:grid-cols-4 lg:text-left">
- <a
- href="https://nextjs.org/docs?utm_source=create-next-app&utm_medium=appdir-template&utm_campaign=create-next-app"
- className="group rounded-lg border border-transparent px-5 py-4 transition-colors hover:border-gray-300 hover:bg-gray-100 hover:dark:border-neutral-700 hover:dark:bg-neutral-800/30"
- target="_blank"
- rel="noopener noreferrer"
- >
- <h2 className={`mb-3 text-2xl font-semibold`}>
- Docs{" "}
- <span className="inline-block transition-transform group-hover:translate-x-1 motion-reduce:transform-none">
- ->
- </span>
- </h2>
- <p className={`m-0 max-w-[30ch] text-sm opacity-50`}>
- Find in-depth information about Next.js features and API.
- </p>
- </a>
-
- <a
- href="https://nextjs.org/learn?utm_source=create-next-app&utm_medium=appdir-template-tw&utm_campaign=create-next-app"
- className="group rounded-lg border border-transparent px-5 py-4 transition-colors hover:border-gray-300 hover:bg-gray-100 hover:dark:border-neutral-700 hover:dark:bg-neutral-800 hover:dark:bg-opacity-30"
- target="_blank"
- rel="noopener noreferrer"
- >
- <h2 className={`mb-3 text-2xl font-semibold`}>
- Learn{" "}
- <span className="inline-block transition-transform group-hover:translate-x-1 motion-reduce:transform-none">
- ->
- </span>
- </h2>
- <p className={`m-0 max-w-[30ch] text-sm opacity-50`}>
- Learn about Next.js in an interactive course with quizzes!
- </p>
- </a>
-
- <a
- href="https://vercel.com/templates?framework=next.js&utm_source=create-next-app&utm_medium=appdir-template&utm_campaign=create-next-app"
- className="group rounded-lg border border-transparent px-5 py-4 transition-colors hover:border-gray-300 hover:bg-gray-100 hover:dark:border-neutral-700 hover:dark:bg-neutral-800/30"
- target="_blank"
- rel="noopener noreferrer"
- >
- <h2 className={`mb-3 text-2xl font-semibold`}>
- Templates{" "}
- <span className="inline-block transition-transform group-hover:translate-x-1 motion-reduce:transform-none">
- ->
- </span>
- </h2>
- <p className={`m-0 max-w-[30ch] text-sm opacity-50`}>
- Explore starter templates for Next.js.
- </p>
- </a>
-
- <a
- href="https://vercel.com/new?utm_source=create-next-app&utm_medium=appdir-template&utm_campaign=create-next-app"
- className="group rounded-lg border border-transparent px-5 py-4 transition-colors hover:border-gray-300 hover:bg-gray-100 hover:dark:border-neutral-700 hover:dark:bg-neutral-800/30"
- target="_blank"
- rel="noopener noreferrer"
- >
- <h2 className={`mb-3 text-2xl font-semibold`}>
- Deploy{" "}
- <span className="inline-block transition-transform group-hover:translate-x-1 motion-reduce:transform-none">
- ->
- </span>
- </h2>
- <p className={`m-0 max-w-[30ch] text-sm opacity-50 text-balance`}>
- Instantly deploy your Next.js site to a shareable URL with Vercel.
- </p>
- </a>
- </div>
+ <h1>Healthcheck</h1>
</main>
);
}From inside the root of your project run the git apply command with:
git apply eddie1.patchNow if you do a git status, you will see my changes affecting those 2 files listed above:
➜  healthcheck-flagsmith git:(main) ✗ git status -s
 M src/app/globals.css
 M src/app/page.js
Don’t for get to check the project still works in the browser.
Commit the changes if you are happy. I use the git command with the conventional commit message style:
git commit -m "fix: removed example code" src/Your app will look something boring like this:
QUESTION: Let me know what you do first with a new project in the comments section? 👇
Second step is automation with GitHub Action
Yes automation. I know a lot of people do this later, but I think it is best to do it from the beginning as this way we get immediate feedback sooner. Plus it is only a few lines of yaml config (mostly copied and pasted from a previous project, so you can use this directly), in the correct location in your project. Then that is it, the magic will happen!
Create a file in “.github/workflows/build.yml”
The contents of the file are:
name: Build

on: [push, pull_request]

jobs:
  lint:
    runs-on: ubuntu-latest

    steps:
      - uses: actions/checkout@v4
      - uses: actions/setup-node@v4
      - name: install dependencies
        run: npm ci
      - name: lint check
        run: npm run lint

  build:
    runs-on: ubuntu-latest

    steps:
      - uses: actions/checkout@v4
      - uses: actions/setup-node@v4
      - name: install dependencies
        run: npm ci
      - name: build app
run: npm run buildname: this is what is displayed on the GitHub Action list on GitHub.
on: what events should trigger this GitHub Action. Here this GitHub Action will run on any “push” event to the repo (I will be doing this below) and also when a “pull request” is created.
jobs: are a list of tasks, here we have “lint” and “build”. These can be named anything and will appear on the diagram GitHub Actions generates (see the example below).
runs-on: what operating system should this run on - “ubuntu-latest” is the most popular and recommend.
uses: are like plugins. We can utilise prebuilt GitHub Actions in our GitHub Action - this is very powerful and a whole other topic.
steps: in the “job” which represent individual steps to take. It is common to have a “checkout” so the project code is available, “name” is what is displayed when a job is clicked on for more information and '“run” is the command to run.
Check the workspace status and it should list that our new folder is not tracked by git:
git status -s?? .github/Add the file to git with:
git add .github/Commit the file with:
git commit -m "feat: github action for lint and build"[main a134c39] feat: github action for lint and build
1 file changed, 26 insertions(+)
create mode 100644 .github/workflows/build.ymlPush the changes to git - but as this is the first time, we need to add a remote so git knows where to push to. For this you will need to create a repo. I will use GitHub (but you can also use other places like GitLab). You will be given the url after creating the repo.
Then run the command:
git remote add origin <URL>NOTE: This can be done over https or ssh, I recommend ssh - you can learn more about this on the official GitHub documentation https://docs.github.com/en/authentication/connecting-to-github-with-ssh
Now you can push your commits to GitHub with:
git push origin mainGitHub will pick up the GitHub Action yml file and start running. You can go to the “Actions” tab at the top and select the running Action. You can also click on each job “lint” or “build” in this case to see the steps and the logs.
Flagsmith
Feature Flags are a great way to select who can see what features, and this can be changed at any time via the Flagsmith’s dashboard.
Sign up / Login
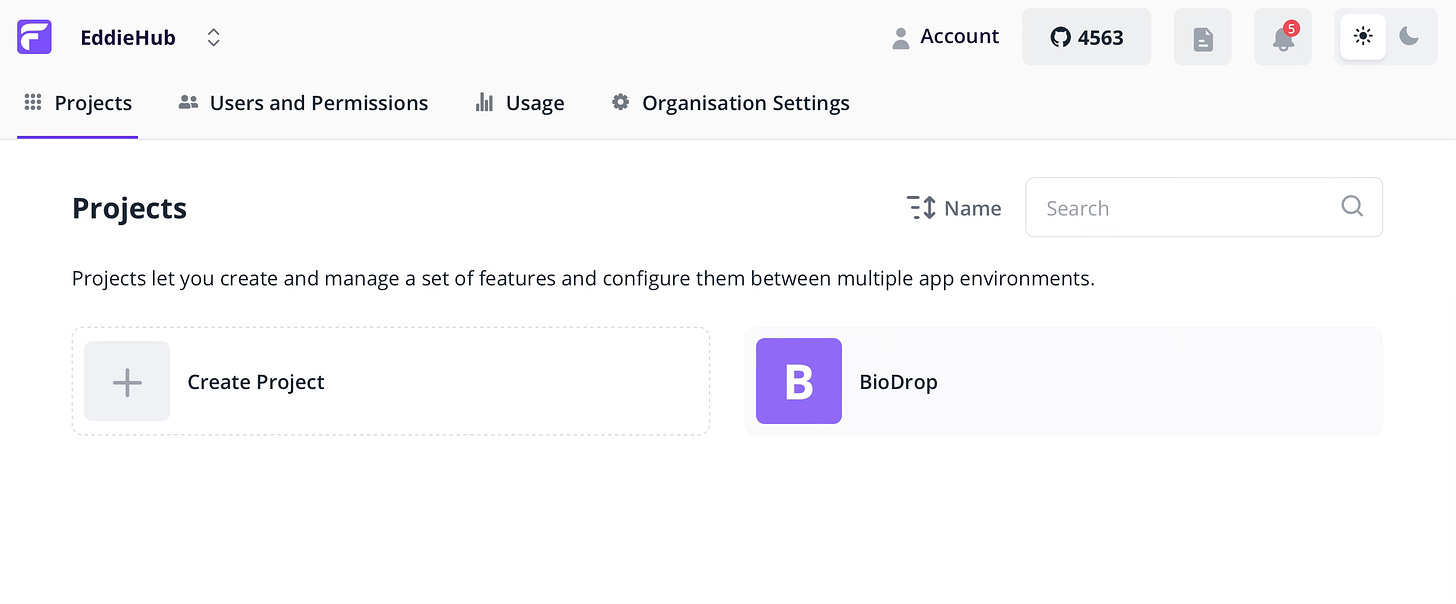
You can sign up for free https://www.flagsmith.com. Once you sign up and log in, you will see your projects pages and it will look something like this:
Click “Create Project”, the project will be created and then you will go into the project dashboard, which will look similar to this:
Create a feature
Click the “Create Feature” button at the top right.
Give the feature a name (you can’t change this later), in our case we will create `tagline`.
Toggle “Enabled by default”.
Give a value of something similar to “Welcome to my Healthcheck project”.
You can also give a description, which you can change later.
Integrate Flagsmith into our NextJS app
Add Flagsmith as an npm dependency with the command:
npm i flagsmith --saveadded 1 package, and audited 358 packages in 2s
137 packages are looking for funding
run `npm fund` for details
found 0 vulnerabilitiesCreate a NextJS provider in file “src/app/providers.js”:
"use client";

import { FlagsmithProvider } from "flagsmith/react";
import { createFlagsmithInstance } from "flagsmith/isomorphic";
import { useRef } from "react";

export default function Providers({ serverState, children }) {
  const flagsmithInstance = useRef(createFlagsmithInstance());

  return (
    <FlagsmithProvider
      flagsmith={flagsmithInstance.current}
      serverState={serverState}
    >
      <>{children}</>
    </FlagsmithProvider>
  );
}
Open the “src/app/layout.js” file and in the import section add:
import { createFlagsmithInstance } from "flagsmith/isomorphic";
import Providers from "./Providers";
Then in the RootLayout function add (don’t forget to make the function async):
const flagsmith = createFlagsmithInstance();
await flagsmith.init({
  environmentID: process.env.NEXT_PUBLIC_FLAGSMITH_ID,
});
const serverState = flagsmith.getState();
console.log(serverState); // just to check the data is coming through
Wrap the “body” in the provider:
<Providers serverState={serverState}>
  <body className={inter.className}>{children}</body>
</Providers>
Lastly add your “NEXT_PUBLIC_FLAGSMITH_ID” to the “.env” file which you can find in the “SDK Keys” menu on the left. Your “.env” file should look something like this:
NEXT_PUBLIC_FLAGSMITH_ID=3C5QvbtgZ3C5QvbtgZLet’s run the app and check it all still works ok:
npm run devThere should be no visual change in the UI, but in the terminal there will be further output from Flagsmith because of our `console.log`.
In my terminal I have the following output which contains the feature flags we have set in Flagsmith, currently only one:
 ✓ Compiled in 101ms (496 modules)
{
  api: 'https://edge.api.flagsmith.com/api/v1/',
  environmentID: '3C5QvbtgZh3C5QvbtgZh',
  flags: {
    tagline: {
      id: 98466,
      enabled: true,
      value: 'Is your Open Source project friendly?'
    }
  },
  identity: undefined,
  ts: null,
  traits: {},
  evaluationEvent: null
}
I recommend changing the feature flag value in Flagsmith and making sure when you refresh the page, that the new value is displayed in the terminal.
Custom notification message
So now we have integrated with Flagsmith we can start doing more exciting things.
Create a new folder called “components” in the “src” directory.
Create a new file “Tagline.js” with the contents:
"use client";

import { useFlags } from "flagsmith/react";

export default function Tagline() {
  const { tagline } = useFlags(["tagline"]);
  if (!tagline.enabled) {
    return null;
  }

  return (
    <div className="border-b border-gray-200 pb-5">
      <h3 className="text-base font-semibold leading-6 text-gray-900">
        {tagline.value}
      </h3>
    </div>
  );
}
In “src/app/page.js” change the “main” content to be the new component “<Tagline />”, this will be the file now:
import Tagline from "@/components/Tagline";

export default function Home() {
  return (
    <main className="flex min-h-screen flex-col items-center justify-between p-24">
      <Tagline />
    </main>
  );
}
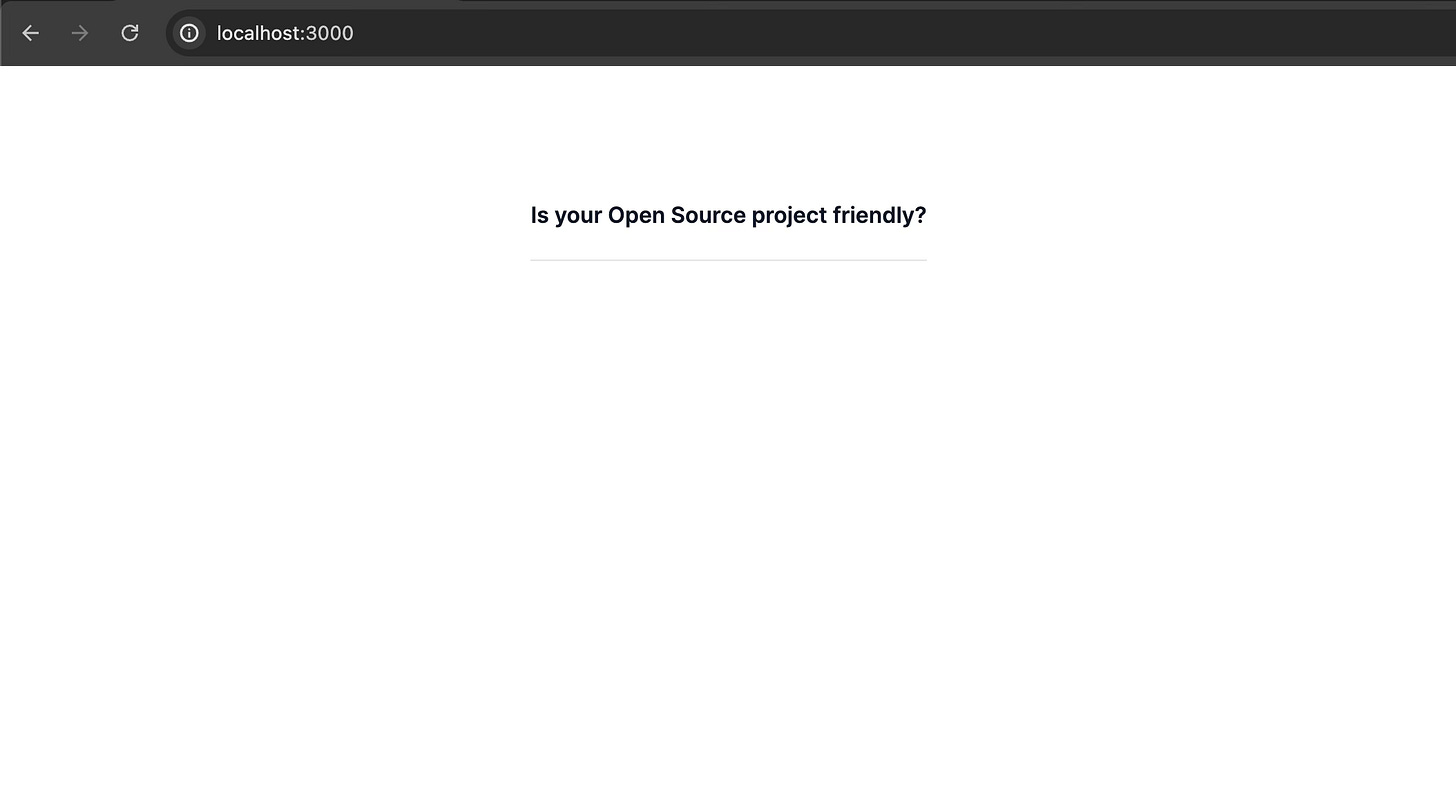
Which will look like this with the tagline coming directly from Flagsmith:
You can edit the feature flag value on Flagsmith again and then refresh the page to see the data change immediately on your app.
Next steps
What can you do with these feature flags? The answer is, quite a lot:
Enable / disable features depending on the user, for example are they logged in, are they a paying member etc;
Decouple deployment and releases;
Deploy features and test them in production - yes I said that;
A/B testing;
and more!
Conclusion
For this tutorial I have used NextJS, however any tool such as AstroJS or SvelteKit, can also be used.
I can’t see any reason why a project wouldn’t want to use a feature flag tool like Flagsmith to help manage their project - especially when Flagsmith is Open Source and it can be hosted within your infrastructure.
Remember to automate as much as possible with Continuous Integration (CI) tools such as GitHub Actions. Almost every command you have in your “package.json” such as lint and build.


a great tutorial for me to get a jump start on this! thank you Eddie 👏👏