What makes a GREAT GitHub Repo README?
Make your GitHub Repo ready to shine and grow, by improving the most important file in your GitHub repo!
The GitHub Repo README is like your shop front. You wouldn’t have your worst items on display there, would you? So why do people spend the minimum amount of time on this file?
I don’t think it is too far-fetched to say that the README.md is the most important file in your GitHub repo.
“Why?” I hear you ask
For multiple reasons. It is the:
First file created for the project, so it is there right from the start.
Most viewed file in the project; it is always displayed on the Repo landing page.
Most active and updated file in the project.
Every project has the README file, so it is a cornerstone of every project.
Coding is a team sport!
TL;DR
List of what to include and what not to include in your GitHub Repo README.md:
✅ What should the GitHub Repo README contain:
Badges
Description
Screenshot or animated gif (with a progress bar)
Features
Prerequisites
Quickstart Guide
About
❌ What should the GitHub repo README not contain:
Table of contents
Large detailed documentation
Let’s go deeper
Before I delve deeper into the essential elements of a README, I want to remind you to use Markdown to create separation and emphasis to the text in this file, and make it more attractive to the reader with sections and colours. For example:
Headings, with the correct nesting
Bold and Italics make keywords stand out
If you really want to stand out, then look at the new GitHub Markdown Alerts
✅ Badges
These are often at the top of the README file, so it is clear for people see the information. Badges are usually clickable / hyperlinked for people to obtain more information if they wish. An example of these Badges to include in your README could be:
Gitpod badge
Discord members online
RepoRater (I am biased here as this is one of the EddieHub projects, but I still think this is a good badge as it shows the average rating and how many people rated the project on how friendly it is)
WARNING: Do not duplicate the meta information on the right-hand side already provided by GitHub, for example: latest release, license etc.
✅ Description
In my view the description which you can add in the meta information on the top right of the Repo is more of a tagline for the project - so it is short and concise. The README should be utilised to add a few paragraphs where you describe in full what the project is about. Use it as an opportunity to share and elaborate on the project and the problem it is looking to solve.
✅ Screenshot
Probably one of the most important items not to miss. Adding a Screenshot might be more apparent with web applications, and you might be thinking “Mine is a CLI app, what screenshot can I have?”. Well you can still show the output from the CLI app, for example. People are visual, having a visual example will make the project more appealing for people to read on and learn more.
If you wish to level up your Screenshot or you have multiple screenshots to demonstrate the user journey or workflow, I highly suggest using an animated gif.
TIP: Add a progress bar to the animated gif as this makes it better for the user to know where is the beginning and the end of the looping animated gif, this is often difficult to see and can be frustrating to the user.
A Screenshot is almost like a thumbnail - offering a preview of what to expect. Would you watch a video on YouTube that didn’t have a thumbnail? I think I can safely say your answer would be “no”.
✅ Features
List the existing Features already implemented in the project. I feel this is additional information that enhances the description, given that as a reader it easier to scan a list and see if anything sparks an interest or piques my interest to look further.
What about the project’s future Features? Not pipe dreams, but up-and-coming Features that are already on the roadmap - ideally include a link to your official roadmap.
✅ Prerequisites
Let people know what is required from them before they start, such as a particular database. If there are necessary elements to run the project, but contributors don’t have the skill or the installed requirement, they can make their own decision whether to proceed or not at this early stage. If a contributor invests time only to later down the line realise they can’t continue, this is likely to give them a negative view of your project.
✅ Quickstart Guide
The goal of this section in your README is to describe how people can get started with your project as soon as possible. Give them the “Hello World” experience with the least amount of effort and they will want to continue to dive deeper and invest in your project.
Wanting to make it easier for people to start does not mean making this section as small as possible and leaving out steps. The Quickstart Guide still needs to be a step-by-step guide that can almost be “copied and pasted” to get the project working.
A common example of where being too concise is counterproductive is a QuickStart Guide which simply states: Step 1: clone, Step 2: npm install, but omit the need to navigate into the newly created directory between steps 1 and 2. This may seem obvious to perform, but what is obvious for you might not be for others and so it is best not to make assumptions.
✅ About
I think it is important to make this section more personal. For example, include the history of the project and why it was created. If you have a special name for the project then you can use the About section to explain why the name was chosen - this gives context and background to the reader.
Now on to why I think certain elements should be excluded from the README.
❌ Table of Contents
Manually adding this to the top of your README is not a good idea for two reasons:
It will get out of date quickly as well as potentially be broken when titles get renamed.
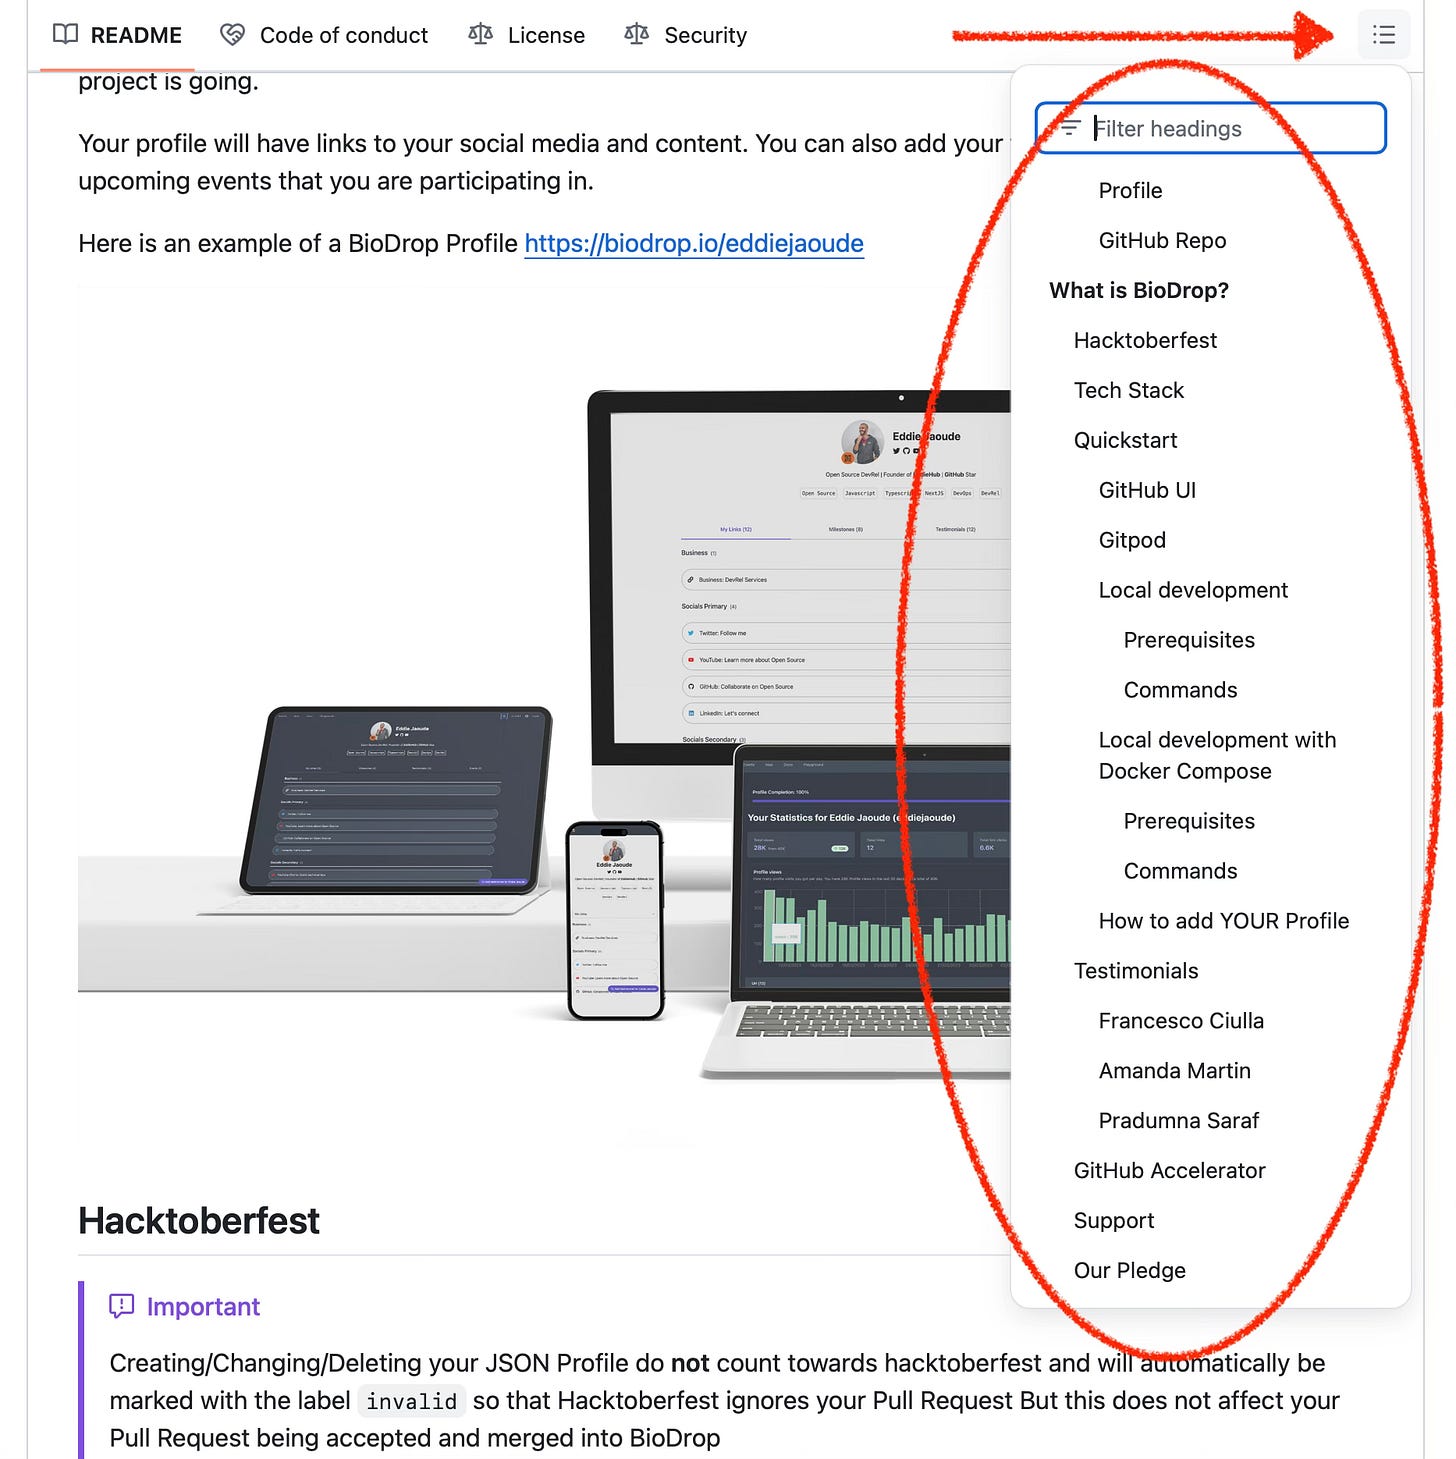
GitHub generates a table for you already. This generated Table of Contents will always be up-to-date and work - provided you use the correct Markdown headings. If you are unsure of how to generate these headings, you can read more in my blog post here…
There is even a search at the top of the table of contents, GitHub are continually improving these features, so no need to reinvent the wheel.
❌ Large Documentation
This can make the README file too big which may scare people off. Documentation will naturally grow as the project does, but ideally, we only want a “hello world” example and potentially another more advanced example in the README, the remainder can go into the “docs” directory which we can link to.
❌ Duplicate information from GitHub metadata
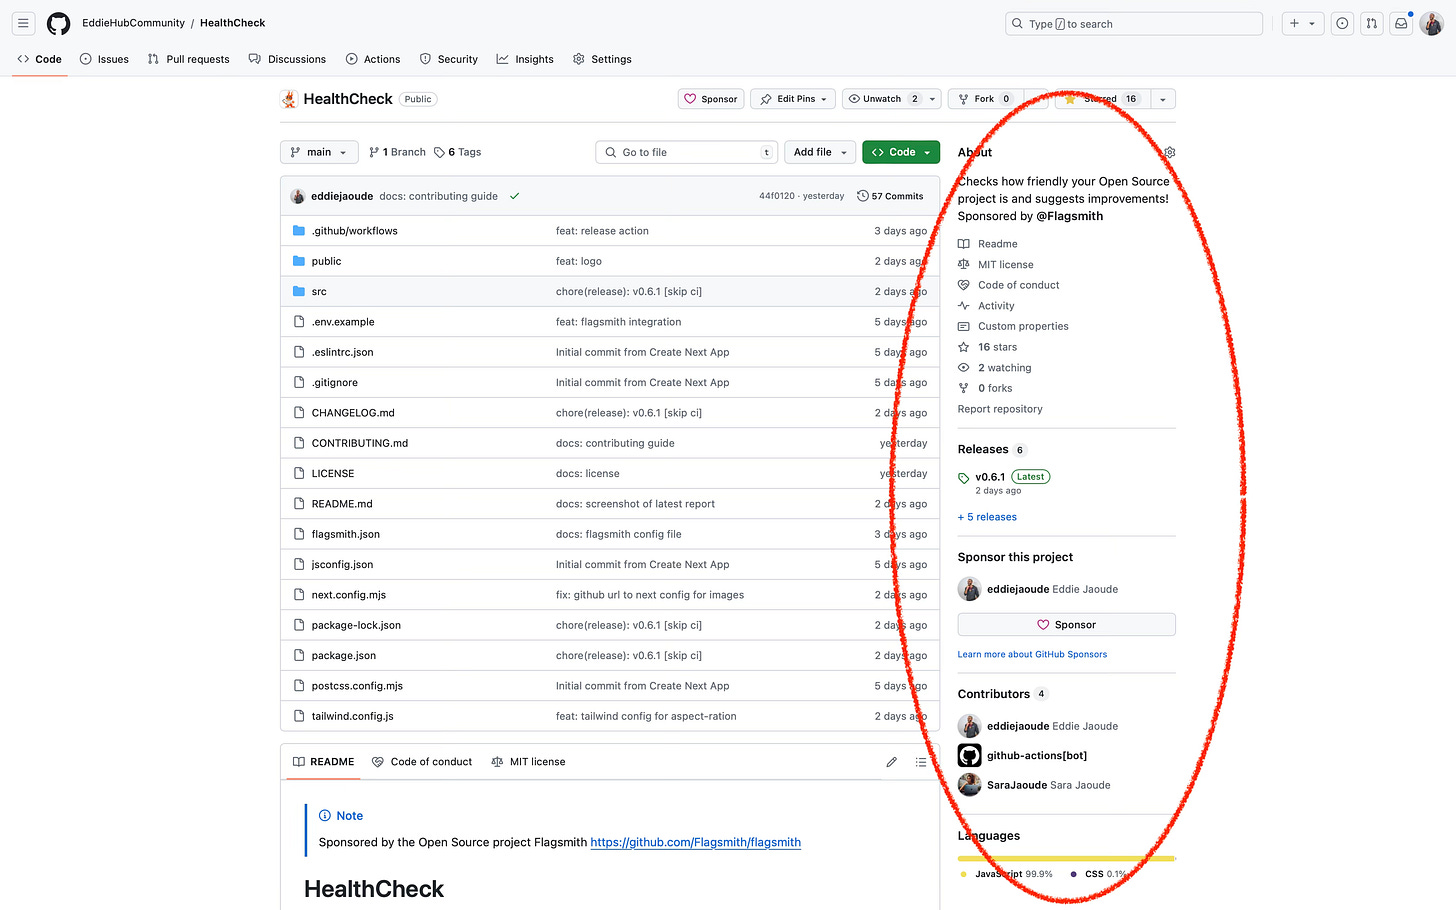
As you know GitHub already provides a summary of the Repo on the right-hand side with meta information (as shown in the image below). Duplicating this in the README is wasting space. Whilst there is no limit to the README size/length, there is a limit to the reader’s attention span and this needs to be taken into consideration. This README needs to provide as much value as it can in the least amount of space. I am not saying this is an easy task - it isn’t, especially when considering that each reader will have a different goal in mind.
Next Steps for your GitHub Repo README
I strongly believe that the author of the project is the best person to start writing the README but at the same time the worst person to do a good job, as we can make too many assumptions. So my advice is: don’t be defensive over your README.
Before you write this file, consider looking at existing READMEs, and see what you like and don’t like. Get feedback on your README, especially from people who are new to the project - they will have a fresh perspective and will not make any assumptions or fill in the gaps. Their questions will massively help improve the README and as a result, the project itself.
Use the README space wisely. Don’t be scared or worried about removing/moving information as it grows.
Subscribe to my free publication to get your GitHub Repo checklist, which you can use on all your projects:


Great write up, Eddie